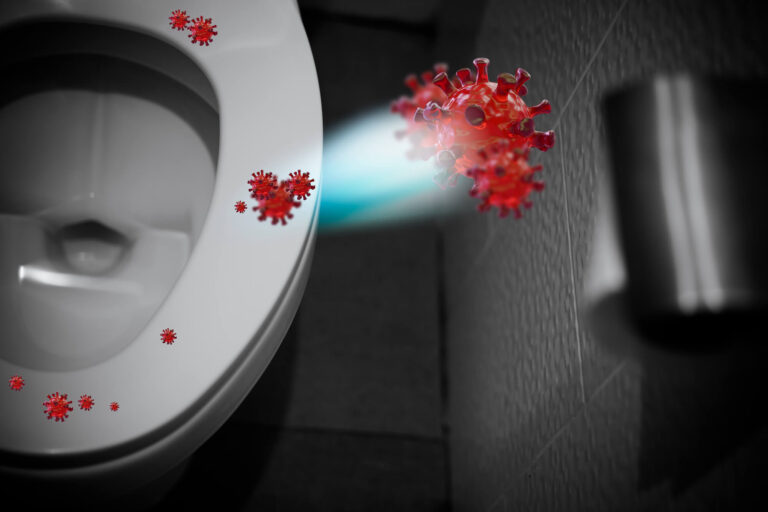
Stepping into a damp, musty bathroom can really put a damper on your day (pun intended). That stale air filled with invisible mold spores wreaks havoc on our health and comfort. But with some diligent maintenance, you can keep your bathroom fresh and mold at bay.
In this article, we’ll explore five straightforward steps to transform your bathroom into a clean, odor-free oasis. No need for expensive cleaners or major renovations. With simple daily and weekly habits, you can halt mold in its tracks and breathe easy.
Let’s get started creating your dream bathroom!
The Health Risks of Bathroom Mold
Before diving into prevention, it’s important to understand precisely why we aim to keep bathrooms mold-free. Mold may seem like merely a cosmetic nuisance, but it can cause a wide range of health issues:
- Respiratory problems – Mold spores aggravate asthma and allergies. Inhaling the spores can cause wheezing, coughing, and shortness of breath.
- Skin irritation – For some people, touching mold triggers skin reactions including itchy rashes and eczema flares.
- Eye irritation – Mold spores floating in the air can lead to red, watery, itchy eyes.
- Sinus congestion – Mold often triggers sinus inflammation leading to headaches and congestion.
- Weakened immune system – Exposure over time can suppress your immune system, making you more vulnerable to illness.
For children, the elderly, and those with compromised immune systems, mold can be especially hazardous. But even for generally healthy individuals, eliminating bathroom mold improves day-to-day comfort.
Let’s get into the prevention steps to keep your bathroom fresh as a daisy!
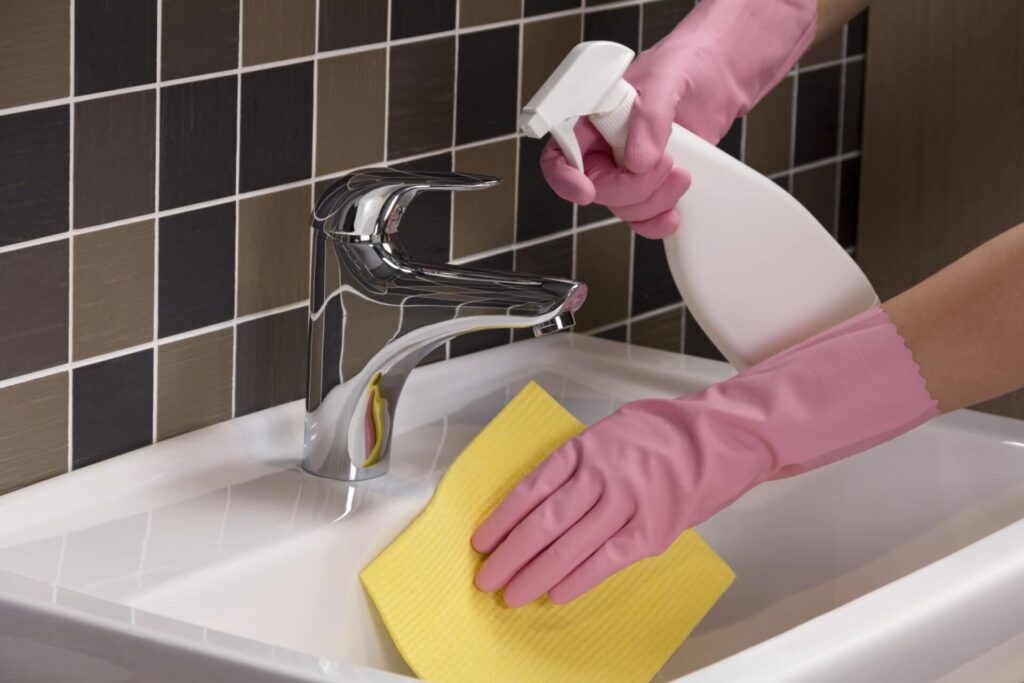
Step 1: Clean Regularly
Regular cleaning is the foundation of mold prevention. Aim to thoroughly clean your bathroom at least once a week. If you have limited time, even a quick daily tidy up can make a big difference.
On cleaning day, start by…
- Scrubbing the shower/tub with bathroom cleaner until any soap scum or mildew is removed. Pay special attention to the grout.
- Wiping down the walls around the shower/tub using a dedicated sponge and bathroom cleaner. Start at the top and work your way down.
- Cleaning the toilet bowl with a toilet brush and toilet cleaner. Don’t forget to also wipe down the exterior of the bowl and base.
- Spraying down the sink and countertops with an all-purpose bathroom cleaner. Use a clean cloth to scrub then rinse.
- Sweeping and mopping the floor with a disinfecting floor cleaner or diluted bleach solution.
Getting into a weekly bathroom cleaning routine prevents buildup of grime and stops mold in its early stages. For daily upkeep, do a quick wipe down of sinks, counters and the toilet to remove new spills and splashes.
Step 2: Use a Dehumidifier
Moisture provides the damp environment that mold needs to thrive. That steam from your hot showers feeds mold growth.
A dehumidifier helps regulate bathroom humidity, keeping levels below 50% relative humidity. This prevents condensation from forming on cool surfaces like windows and walls.
Look for a dehumidifier designed specially for smaller bathrooms. The Eva-Dry E-500 is a popular option:
- Covers up to 215 square feet making it perfect for most bathrooms
- Compact size takes up minimal space on the floor or countertop
- Uses silica beads to absorb moisture without chemicals
- Automatically turns on and off
- Lasts up to 6 weeks before beads need recharging
Be sure to empty the water reservoir frequently to remove excess moisture. If you don’t have room for a standalone dehumidifier, simply turn on your bathroom fan or open a window while showering and for about 30 minutes after to allow humidity to dissipate.
Step 3: Increase Ventilation
Propper ventilation literally clears the air of mold-causing moisture. It also removes musty odors leaving your bathroom smelling fresh.
If you have an operable window in your bathroom, open it to let fresh air circulate. Make this part of your routine after showering or bathing.
Run your bathroom exhaust fan during and after showering for at least 45 minutes. The fan sucks humidity up and out before it has a chance to settle on surfaces.
Make sure your exhaust fan is actually ventilating to the outdoors. Check where the duct leads outside the home. If you have an older fan with no duct, upgrade to a ducted model.
If there’s no window or fan, consider installing a high-quality bathroom ventilator. Your humidity woes will vanish!
Step 4: Dry Wet Surfaces
After baths and showers, be diligent about drying damp surfaces. Leaving moisture lingering leads to mold growth.
Use a squeegee on shower walls and doors to eliminate pooled water quickly. Don’t forget to reach the bottom of the doors near the track.
For tile walls, use a microfiber towel to wipe down any remaining moisture. Check grout lines where water tends to collect.
Dry the bathtub thoroughly after each use. An old towel works for soaking up standing water. Allow the tub to air dry fully with the curtain open.
Mop or towel dry bathroom floors after showers and baths. Floors stay damp longer than walls, allowing mold to flourish.
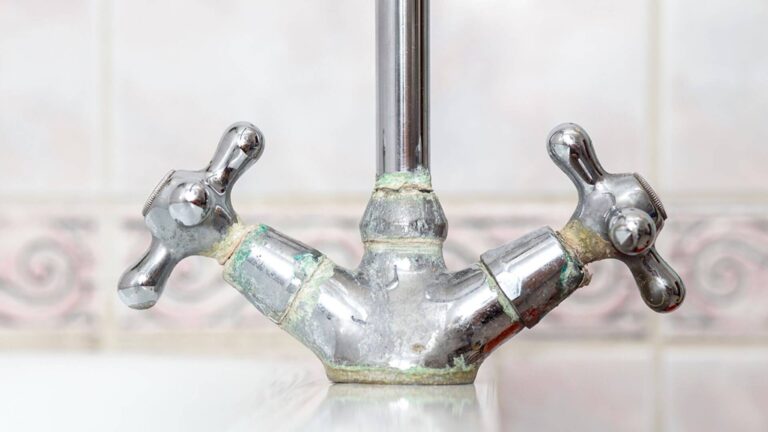
Step 5: Fix Any Leaks
Leaks seem harmless, but create the perfect conditions for mold to thrive undetected. Stop moisture at the source.
Check under sinks for any evidence of water damage or mold growth. Look for dark stains on cabinet surfaces or drips. Tighten up pipes and replace any damaged areas in the cabinet floor or walls.
Inspect tile grout and caulking. Repair any cracked or missing sections to prevent water seeping in. Be thorough along the tub and shower edges.
Monitor your toilet tank and bowl. If you hear constant phantom flushing, the flapper seal likely needs replacing. Any drips at the base also indicate an issue. Fix immediately before major water damage occurs.
By taking away moisture and fixing leaks, you deny mold its life force!
Maintain Motivation with a Bathroom Cleaning Checklist
Transforming your bathroom into a clean, dry oasis takes commitment. A checklist posted on the wall keeps you accountable.
Here’s an example cleaning schedule:
Daily:
- Squeegee shower walls
- Wipe down sink
- Disinfect toilet bowl
- Empty dehumidifier tank
Weekly:
- Scrub shower and tub
- Wipe down all walls
- Clean mirror and counter
- Sweep and mop floors
- Take out trash
Monthly:
- Check for leaks under sinks
- Inspect caulking and grout
- Clean exhaust fan filter
- Dust light fixtures
- Restock cleaning supplies
Customize your checklist based on your schedule and bathroom needs. Just be sure to actually check off tasks after completing them!
Reward yourself for sticking to your cleaning regimen. At the end of the month, enjoy a restful bubble bath knowing your bathroom is fresh and clean.
Conclusion: Start Enjoying Your Mold-Free Bathroom Oasis
With some diligence and regular maintenance, you can keep mold at bay and create a bathroom haven. Follow these five essential steps:
- Clean regularly using disinfecting bathroom cleaners to kill germs and remove grime.
- Use a dehumidifier or open windows to maintain humidity below 50%.
- Increase ventilation through exhaust fans, windows and new ductwork.
- Quickly dry wet surfaces after showering using squeegees, towels and ventilation.
- Fix any leaks immediately to prevent excess moisture and water damage.
Place your customized bathroom cleaning checklist on the wall and commit to staying on top of tasks. Before you know it, taking a deep breath when you enter your bathroom will fill you with relief rather than dread.
No more mold, mildew or musty smells. Just a fresh, cleansing oasis to start and end your day right. Your lungs and your state of mind will thank you!